
For mother's day this year I decided to try one of the crayon drip paintings I've seen all over the internet these days. It was a real trial & error process but I'm really happy with the end result. Since I had to figure out a few things about the process along the way, I figured I'd share them with you here.
SO to make your crayon art,
YOU WILL NEED:
 crayons,
a canvas board,
white school glue,
a hair dryer,
a tablecloth or newspaper.
an x-acto knife or scissors,
paint (optional)
(click the pictures for the big versions)

After deciding on the kind of colors and design that I wanted, I took off the wrappers of the crayons. This isn't necessary, it's really just about how you want the finished product to look. I wanted less crayon to show and more wax, so I used to x-acto knife to cut a slit down the length of the wrapper for easy removal (dulcie's idea, props). Then I used elmer's glue to glue the crayons on the board.
I put aluminum foil in the shape of the letters I wanted to be on the canvas later. I planned on removing the aluminum foil and hoping the canvas would show through, but it didn't work out as I planned. This was part of the experiment but I worked it out later.

A word of wisdom, do NOT use spray adhesive on these puppies. Just in case you were thinking about it. The stuff is the devil. Everything, and I mean EVERYTHING will stick to your hands, and also the adhesive does not hold up under heat. When I used it and started the blow dryer up, the crayons literally blew off the canvas. Boo hoo.

Next came the fun part, the blow drying. :D The crayons were so cool to watch as they melted. My strategy was to sit in one spot (preferably the spot that you want to show through pretty well) for an extended period of time. The colors don't run together nearly as much. I did this on the yellow and orange bit of the painting.
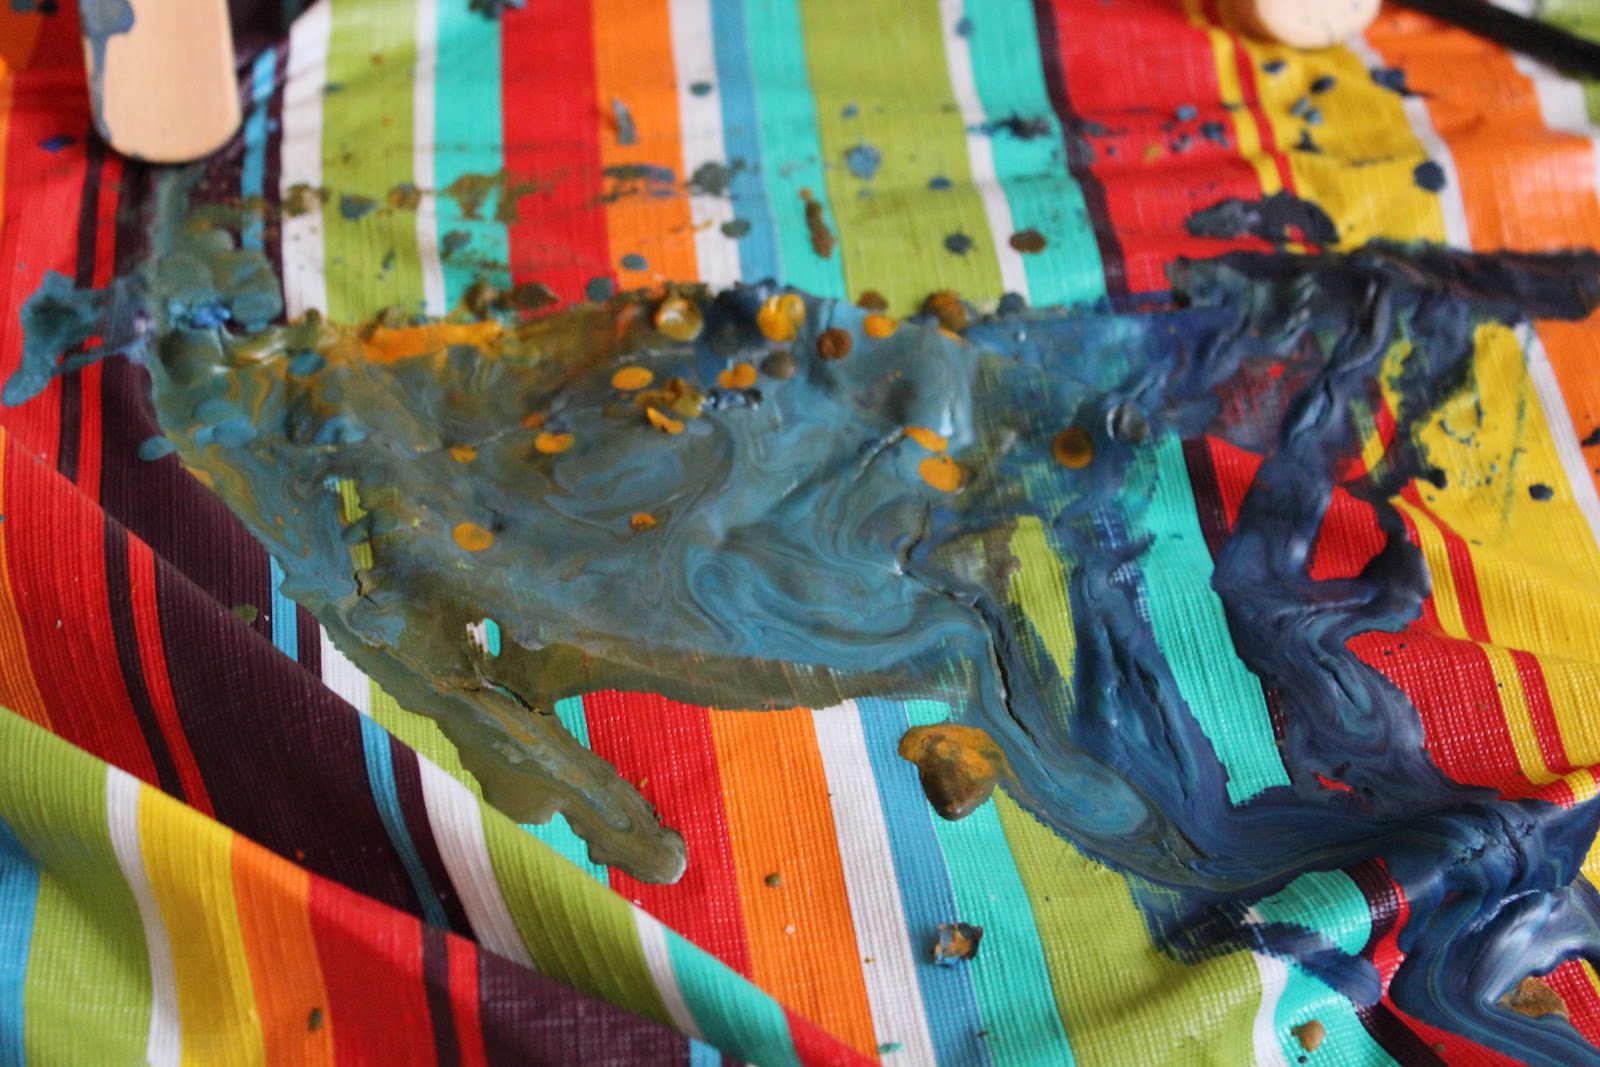
This project gets messy which is why I recommend a tablecloth.


I melted the my painting one way but I didn't like the sharp edges of the crayons on top, so I flipped it and blow dried it upside-down.
 As I was saying, the aluminum foil didn't really turn out. So I used white paint to cover it up. After the paint dried I outlined the letters with a sharpie. :)
VOILA!
The finished product.
:)
Check out my friend dulcie's crayon art!
No comments:
Post a Comment